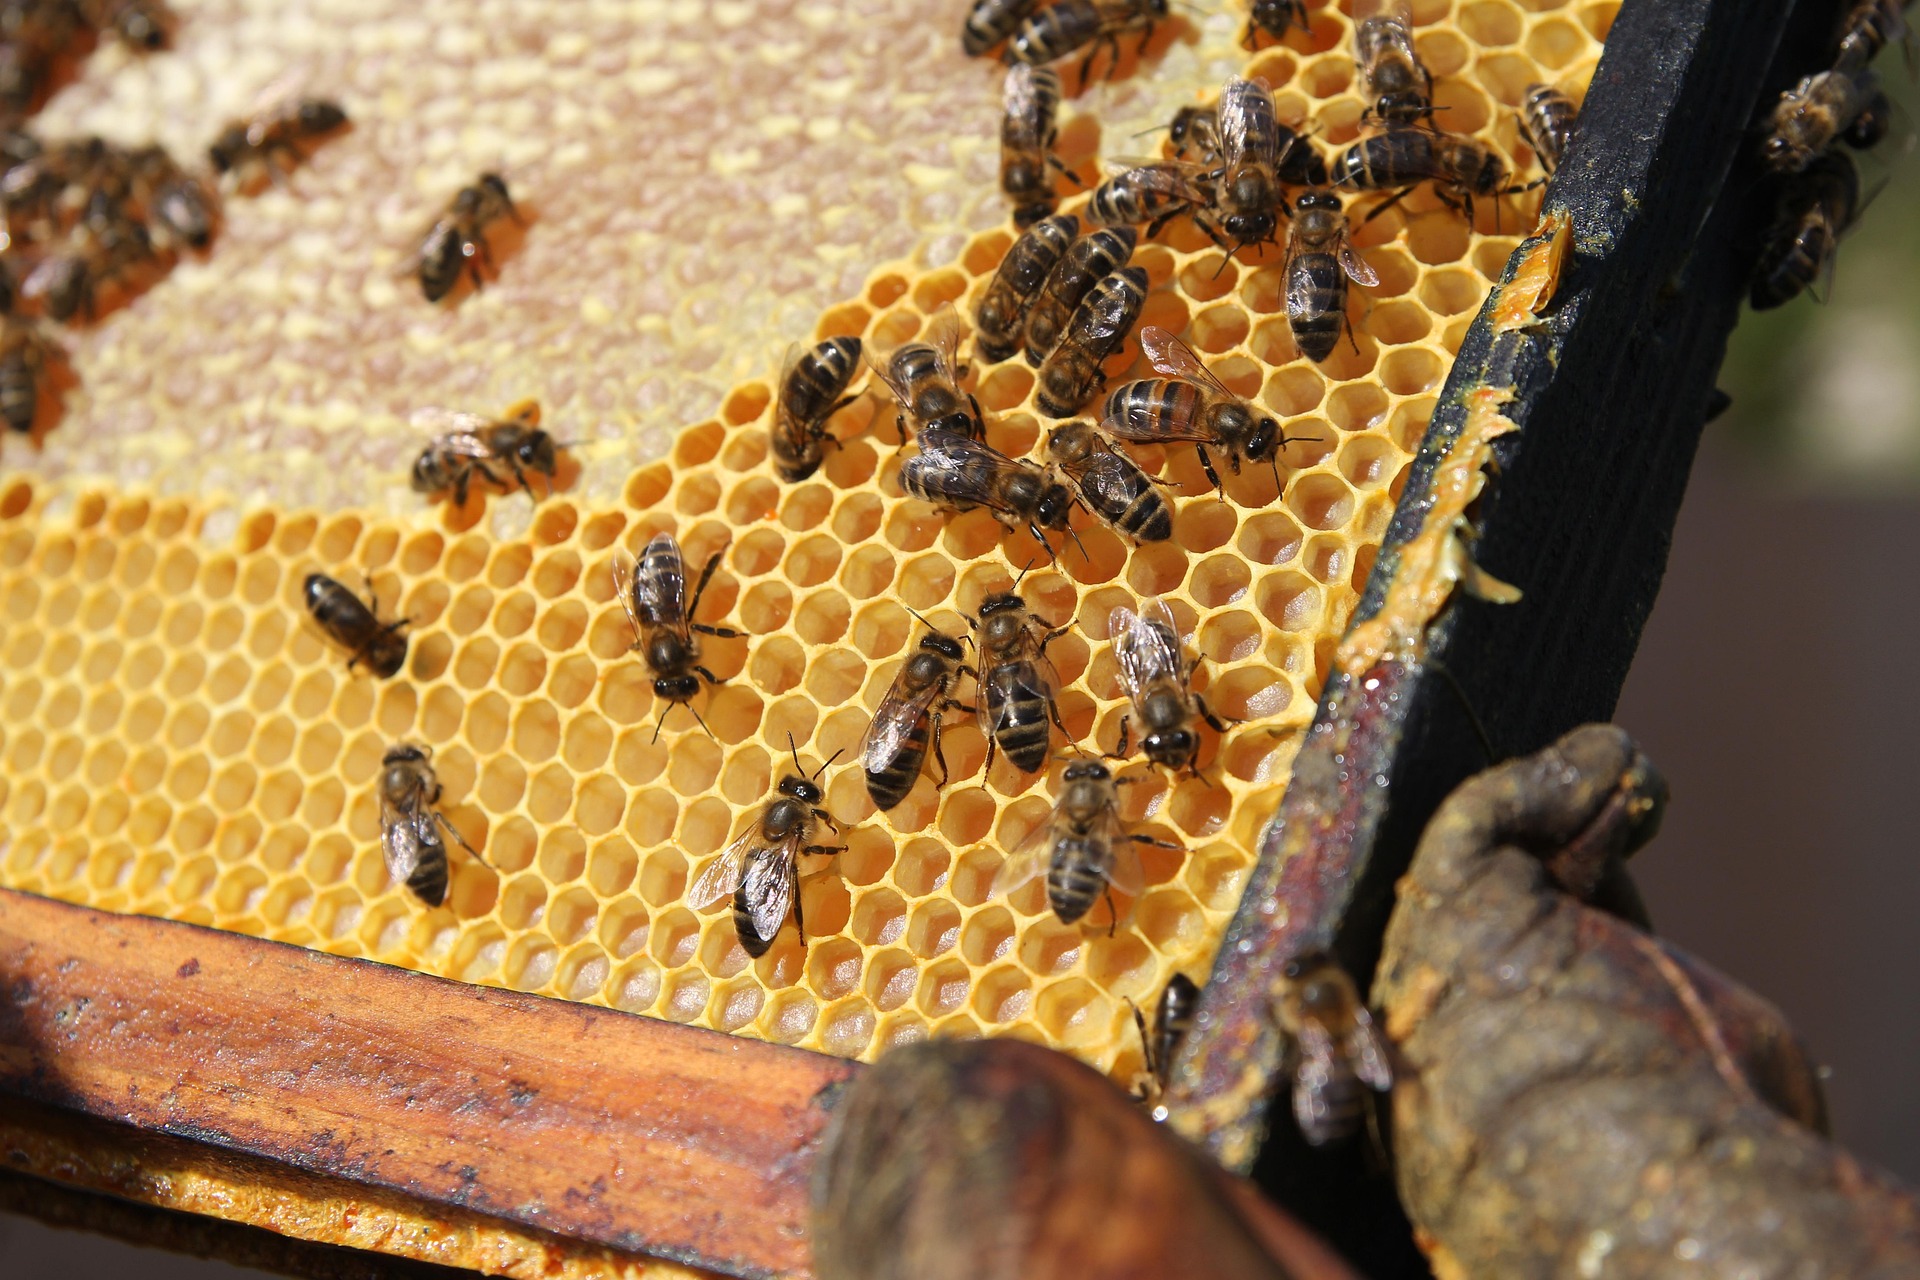
Here is the question every new beekeeper actually needs answered, and almost nobody asks first: what happens if you do nothing wrong and your bees still die over winter? It happens, often, and it is not always your fault. Beekeeping is not a set-and-forget homestead project like a rain barrel. It is a year-round relationship with a living colony that can starve, freeze, get robbed by mites, or simply fail to build up in time, and your job is to stack the odds in their favor at every stage: the hive you choose, the equipment you buy, how you place and feed the colony, how you handle winter, and how much honey you dare to take. Get those decisions right and beekeeping becomes one of the most productive, resilient additions to a homestead, worth honey, wax, and pollination for a garden and orchard that otherwise struggle to set fruit. Get them wrong and you lose bees, money, and a season. This guide walks the whole cycle, from picking your first hive through your first honey harvest, so you start with the fundamentals instead of learning them one dead colony at a time.
Pick your hive before you pick anything else
The type of hive you buy shapes everything downstream: how you inspect, how you harvest, how heavy the work is on your back, and how much local help you can get when something goes wrong. There is no objectively best hive, only the one that fits your goals.
| Hive type | Best for | Trade-off |
|---|---|---|
| Langstroth (stacked boxes, removable frames) | Maximum honey production, standardized parts, the widest pool of mentors and local support | Full honey boxes are heavy to lift; feels more industrial |
| Top-bar (single horizontal cavity, bars not frames) | A gentler, low-cost, back-friendly style with a more hands-off feel | Lower honey yield; fragile comb; harder to find local help |
| Warre (vertical top-bar) | Beekeepers who want minimal intervention and a very natural approach | Least standardized; steepest learning curve for a true beginner |
If you want production and the easiest path to good mentorship, the Langstroth is the sensible default, since it is what most beekeeping clubs, courses, and suppliers are built around. If you value simplicity, lower upfront cost, and a more natural style, and can accept less honey and less standardized support, a top-bar hive is a real option. One practical tiebreaker matters more than the spec sheet: buy whatever hive type your local beekeepers use. So much of surviving your first two years comes down to mentorship, and a hive nobody nearby can advise you on is a harder road no matter its merits.
Learn before your bees arrive
The single best first move in beekeeping is not buying equipment, it is finding people. Connect with a local beekeeping club or association before you order a single box. Experienced beekeepers can shortcut years of trial and error, and many areas run beginner courses through extension offices or clubs that are worth the price many times over. Read a couple of solid beekeeping books too, but treat them as a supplement to a human mentor, not a replacement. Check your local ordinances as well: some municipalities restrict hive counts, placement, or require registration, so confirm the rules before you commit money to equipment and bees.
The equipment you actually need
Beekeeping does not require a large kit, but the essentials are worth buying in decent quality since you will use every piece constantly:
- The hive itself, boxes and frames or bars, per the type you chose above.
- Protective gear: a veil at minimum, and while you are learning, gloves and a full suit or jacket. Feeling protected keeps you calm, and a calm beekeeper keeps bees calmer.
- A smoker, which settles the bees and makes real inspections possible.
- A hive tool, a simple flat pry bar for separating frames and boxes that bees glue together with propolis.
Start with two hives, not one, and site them with intent
Two decisions in your first month matter more than almost anything you will do afterward: how many hives you start with, and where you put them. Start with one or two, never a whole apiary in year one. Beekeeping has a real learning curve, and a small start lets you make your inevitable beginner mistakes on a scale that will not sink you. Two hives beats one for a specific reason: it gives you a comparison point for what “normal” looks like, and it means a strong colony can donate a frame of brood or honey to bail out a struggling one. Placement matters just as much. Bees want morning sun to get moving early, shelter from harsh prevailing wind, a water source nearby, and an entrance that faces open space rather than a path where people or pets walk through the flight line. Think about your neighbors too, since a hive sited thoughtfully avoids the complaints that sour a good hobby. These are easy calls to get right before the bees show up and genuinely annoying to fix once they are settled in.
Getting your bees
Bees are typically acquired in spring, as a package (loose workers and a caged queen) or a nucleus colony, often called a “nuc,” which is a small already-functioning colony on a few frames. A nuc tends to be the gentler start for a true beginner since it arrives established rather than needing to build from scratch. Buy from a reputable local source your beekeeping club can point you to, ideally bees already adapted to your climate, and time the purchase for spring so the colony has a full season to build up strength before its first winter.
The rhythm of the beekeeping year
Once a hive is established, the work is regular but not constant. Periodic inspections check that the queen is laying a solid pattern, the colony is growing, and there is no sign of disease or pests. The bees handle almost everything themselves; your role is to monitor, support, and step in only when something is actually wrong. That seasonal rhythm builds toward two high-stakes moments: getting the colony through winter, and harvesting the honey it produces. Both deserve their own close attention, because both are where beginners lose colonies or overreach.
Winter is won in the fall
Bees do not hibernate. They cluster tightly and generate heat by vibrating their flight muscles, burning stored honey for fuel through every cold week. That single fact explains almost everything about winter prep: a colony survives on three things, enough bees to sustain a warm cluster, enough honey to fuel it, and a hive that manages moisture and wind without smothering the cluster.
Do the real work before the cold arrives
The most important truth in beekeeping is that a colony’s odds of surviving winter are decided in late summer and fall, not in January. By the time it is cold, there is little you can do for a struggling hive, so three things need to be handled in advance. First, honey stores: the colony needs enough to fuel the cluster for your entire winter, which is exactly why you never harvest so aggressively that you leave them short, and in a lean year you may need to leave everything, or even feed the bees to build reserves. Second, colony strength and health: a large, healthy population sustains a warm cluster, while mites and disease left unmanaged in late summer routinely doom colonies that looked fine in October. Third, the hive itself: blocked from harsh wind, ventilated so condensation does not drip onto and chill the cluster, and insulated if your winters call for it. Nail these three in the fall and you have done nearly everything within your control. Skip them, and no amount of winter worry saves a colony that went into the cold weak, short on food, or carrying a heavy mite load.
Once the cold sets in, the right move is to leave the hive alone. Opening it lets out heat the cluster worked hard to generate and can do real harm. Monitor from the outside instead: keep the entrance clear of snow and dead bees so the colony has ventilation and can take cleansing flights on the occasional warm day, and watch for signs of real trouble. If a colony is genuinely at risk of starving late in winter, experienced beekeepers can do emergency feeding, but good fall prep is what makes that unnecessary in the first place.
Harvesting honey without hurting your bees
The harvest is the payoff for a season of care, but it comes with one non-negotiable rule: the honey belongs to the bees first, and you take only the genuine surplus. Honey is their winter fuel, and a colony that runs short starves. New beekeepers, excited by their first full frames, sometimes take too much and lose the colony over winter, a painful and entirely avoidable mistake. How much surplus exists varies by climate and by season, and in a poor year the honest answer may be none at all, which simply means you leave it all for the bees that year.
Timing matters too. Honey is ready when bees have capped the cells with wax, which signals it has ripened down to a safe moisture level for storage without fermenting. The main harvest usually comes in late summer or early fall, after the nectar flow has tapered and you can see clearly what is truly surplus to the colony’s winter needs.
Extracting and processing, step by step:
- Remove the wax cappings sealing each cell.
- Extract the honey, commonly by spinning frames in a centrifugal extractor (top-bar comb without frames is handled differently, often by crush-and-strain).
- Strain out wax fragments and debris.
- Let the honey settle before bottling.
- Save the cappings; the beeswax is a genuinely valuable byproduct for candles, soap, and other homestead crafts.
Keep everything food-clean throughout, since honey is a food product start to finish. Properly processed and stored, it keeps essentially indefinitely, which makes it one of the few homestead goods you can bank without worrying about spoilage.
If you plan to sell it
Plenty of beekeepers end up with more honey than their family can use, and selling the surplus can be a nice bit of homestead income. It also puts you under food-safety and labeling rules that vary significantly by location, so check what applies before you sell a single jar. Many areas have simpler provisions for small-scale honey sales, but “many” is not “all,” so verify locally rather than assume. This is part of the same broader habit worth building on any homestead: know the local laws and regulations that touch what you are producing and selling before you scale it up.
FAQ
Do I need a whole yard for bees?
No. A single hive needs only a few square feet of space with sun, some wind shelter, and a flight path clear of foot traffic. Many suburban and even some urban beekeepers run a hive or two on modest lots, subject to local rules.
Will my bees sting my neighbors?
Well-placed, well-tempered hives rarely cause problems. Point the entrance toward open space, keep flight paths above head height where they cross any property line, and choose calm bee stock from your local supplier.
How many colonies should a beginner start with?
Two, if your budget allows. It gives you a comparison for what “normal” looks like and a way to rescue a struggling colony from a strong one, without the workload of a full apiary.
What kills the most first-year colonies?
Going into winter with too little honey, an unmanaged mite load, or too small a population. All three are fall problems, not winter problems, which is exactly why fall preparation matters more than anything you do once it is cold.
Beekeeping, condensed
- Choose your hive type (Langstroth for production and support, top-bar for simplicity) before buying anything else, and favor whatever your local beekeepers use.
- Learn from a local club or mentor before your bees arrive, and check local ordinances first.
- Buy quality basics: hive, protective gear, smoker, hive tool.
- Start with one or two hives, sited for sun, wind shelter, water, and a clear flight path.
- Winter survival is decided in the fall: ample honey stores, a strong mite-managed colony, and a wind- and moisture-managed hive.
- Harvest only the genuine surplus, take capped ripe honey in late summer or fall, and save the wax.
- Check food and labeling rules before selling any honey.
Beekeeping rewards preparation more than almost any other homestead skill, because the cost of getting it wrong is not a ruined batch of soap, it is a dead colony. Choose the hive that fits your goals and your local support, learn from people who already keep bees, start small and well-placed, and treat every fall as the season that actually decides whether your bees see spring. Do that, and beekeeping becomes exactly what it promises: honey, wax, pollination for the rest of your homestead (a garden with better-set fruit thanks to your bees pairs naturally with healthy soil and composting), and one more genuinely resilient system you do not depend on anyone else for. It sits comfortably alongside other homestead livestock as a low-footprint way to add real production to land you already have.


