Canning vegetables is a practical and delicious way to preserve the bounty of your garden or local farmer’s market, ensuring year-round access to fresh, nutritious produce. Mastering essential canning techniques is crucial for successful preservation, extending the shelf life of your favorite fruits and
vegetables while maintaining their flavors and textures. This article will guide you through the essential steps of canning vegetables, providing you with the knowledge needed to create high-quality, shelf-stable jars of preserved goodness.
Choosing the Right Vegetables
- Firmness: Select vegetables that are firm and ripe but not overripe. Overripe vegetables may not preserve well.
- Quality: Choose high-quality, fresh produce for canning to ensure the best taste and safety.
Preparing the Vegetables
- Wash: Clean vegetables thoroughly under cold running water. Use a vegetable brush to remove dirt from crevices.
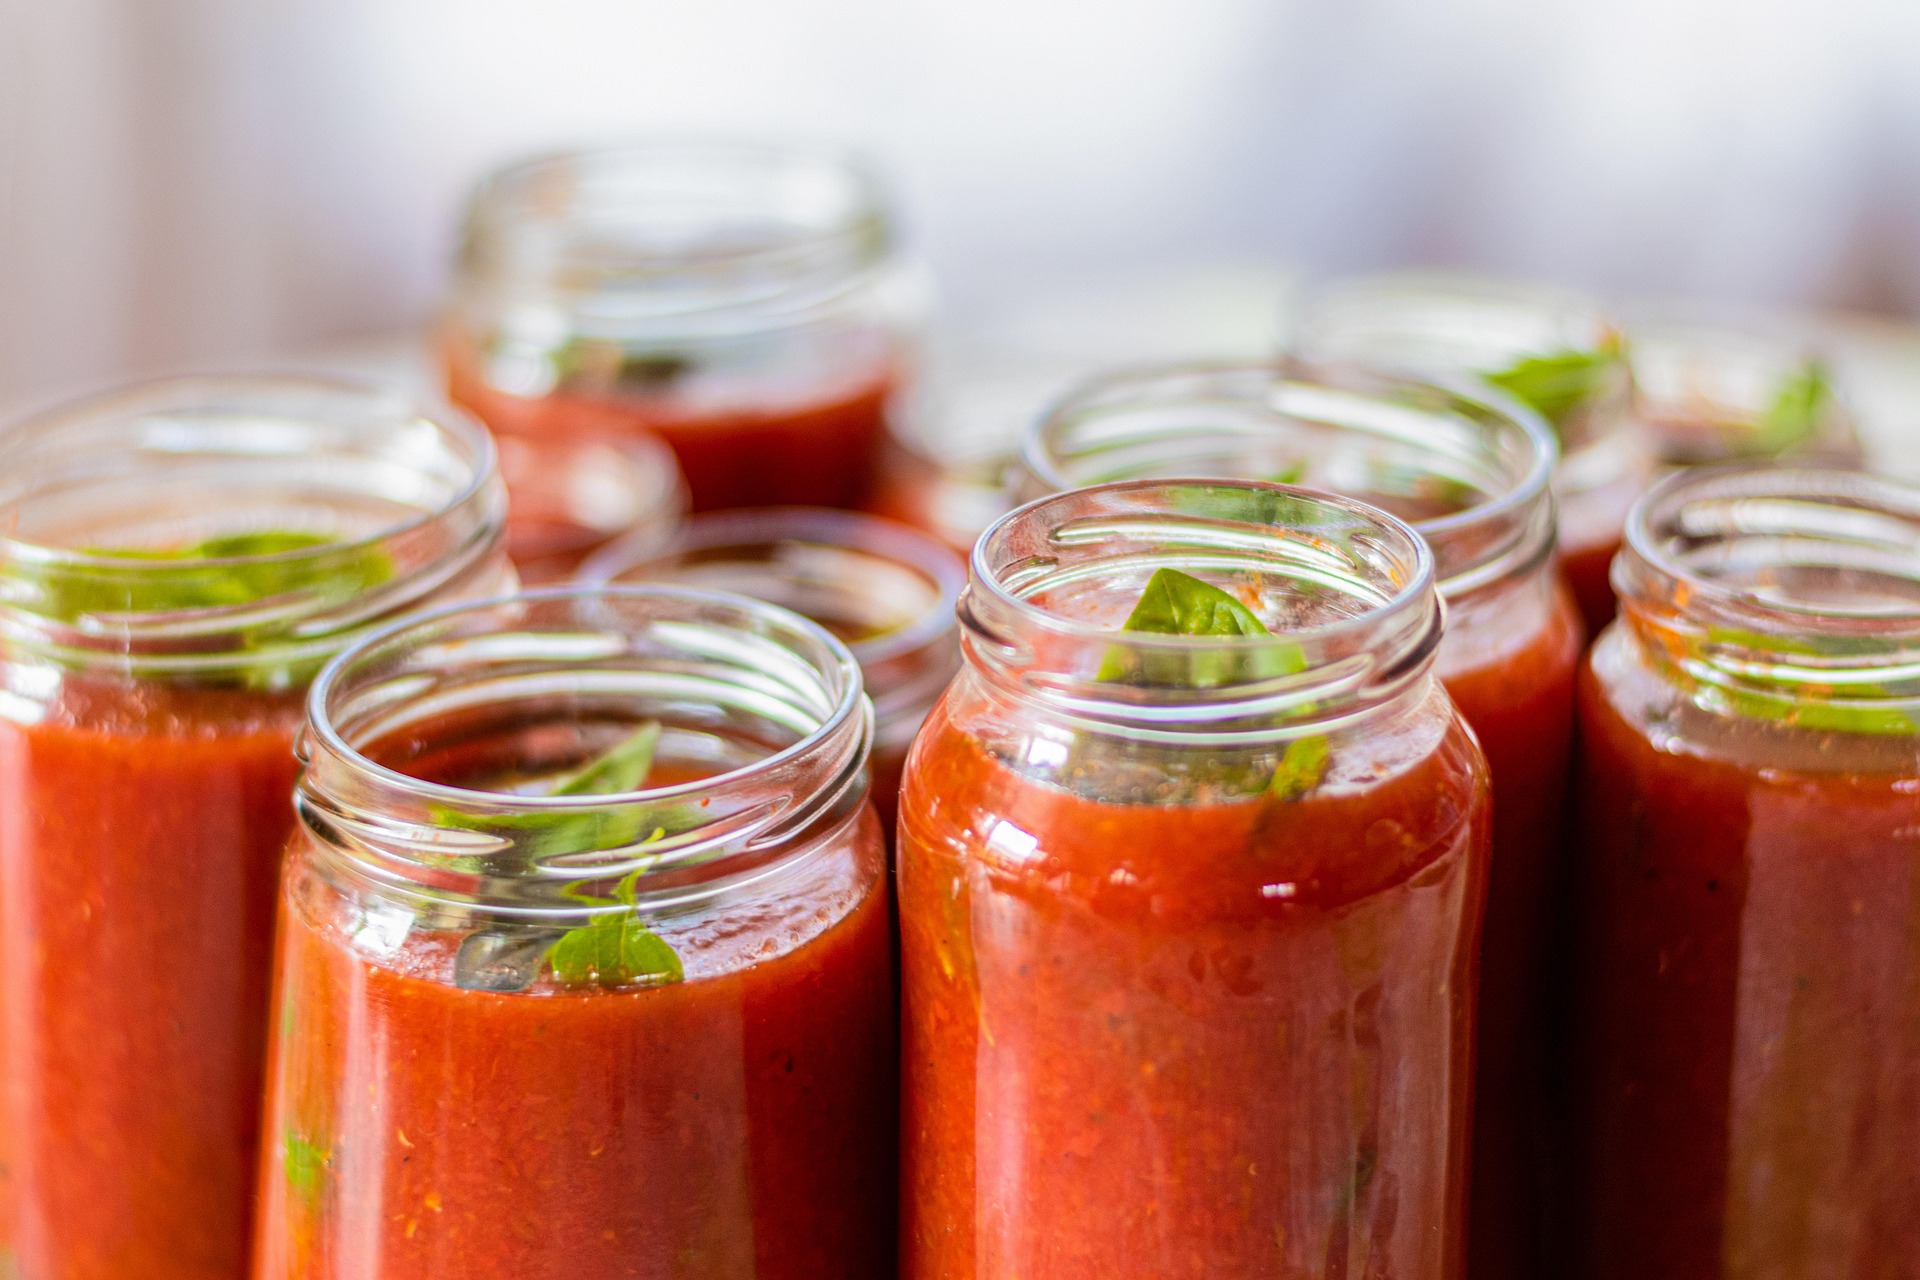
- Peel (if necessary): Peel vegetables like tomatoes, squashes, and onions if they have thick skins that may affect texture or taste when canned.
- Chop: Cut vegetables into consistent sizes to ensure even cooking and processing times.
Selecting the Right Equipment
- Canning Jars: Use canning jars designed for preserving foods. They should be free of chips, cracks, or nicks.
- Lids: New two-piece lids are recommended for pressure canning. Tattler reusable lids may also be used in a pressure canner for water bath canning.
Pressure Canning vs Water Bath Canning
Both methods have their advantages. Pressure canning is ideal for low-acid vegetables and meats, while water bath canning is suitable for high-acid fruits and pickles.
Pressure Canning Techniques
- Preparing the Pressure Canner: Follow manufacturer instructions to prepare your pressure canner. Fill it with water up to the recommended level.
- Heating the Canner: Bring the canner to the correct temperature as specified by the manufacturer before adding jars.
- Filling and Processing Jars: Pack vegetables into hot, sterilized jars, leaving the recommended headspace. Add boiling water or brine if necessary, then affix lids.
- Processing the Jars: Carefully place filled jars in the pressure canner and secure the lid. Process according to manufacturer instructions based on your elevation and the type of vegetable being canned.
- Cooling the Jars: Allow the pressure canner to return to normal pressure before removing the jars. Let them cool undisturbed for 12-24 hours. Check seals, and store jars in a cool, dry place.
Water Bath Canning Techniques
- Preparing the Water Bath Canner: Fill your water bath canner with water up to the recommended level. Heat it to a boil.
- Heating the Jars and Lids: Place filled jars in a hot water bath (180°F or higher) for at least 3 minutes before placing them in the canner.
- Processing the Jars: Carefully lower the preheated jars into the boiling water using a jar lifter. Process based on the type of vegetable and elevation according to canning guidelines.
- Cooling the Jars: After processing, remove the jars from the water bath and let them cool undisturbed for 12-24 hours. Check seals, and store jars in a cool, dry place.
Safety Considerations
- Follow Canning Guidelines: Always follow recommended canning guidelines from reputable sources like the National Center for Home Food Preservation (NCHFP).
- Sanitize Jars and Equipment: Properly sanitize jars, lids, and utensils to minimize bacteria growth.
- Prevent Cross-Contamination: Use separate equipment for canning acidic and low-acid foods to prevent spoilage or foodborne illnesses.
By following these techniques, you’ll be well on your way to successful canning of vegetables at your homestead or during survival situations.